Shopify Migration Checklist
Most store owners think migrating to Shopify is simply about transferring products and hitting the publish button.
It’s not.
Miss one important step, such as misconfiguring redirects or forgetting your DNS settings, and you could lose your traffic, break your checkout, or damage customer trust.
And once you’re live, fixing it becomes 10 times harder.
This Shopify migration checklist is your play-by-play guide to doing it right.
Talk about pre-migration prep to post-launch QA, the guide walks through every step in the exact order you need to follow.
Let’s start!
If you’re looking for a streamlined, stress-free transition, let the Shopify experts at Uptek handle your migration and guide you from start to finish, ensuring no detail is overlooked.
Why a Shopify Migration Checklist Isn’t Optional:
A store migration affects:
- Products
- Customers
- Payments
- SEO
- Shipping settings
- App integrations
These small oversights can trigger big problems like broken checkout flows, missing product data, or a 404-filled site that tanks your Google rankings.
A well-structured Shopify checklist helps store owners minimize downtime, protect their traffic, and launch with confidence. Every step you plan before the move saves hours of scrambling afterward.
Pre-Migration Checklist You Must Follow:
A smooth Shopify migration begins with thorough planning, accurate data, and a well-defined structure.
Here’s what needs to happen before anything gets moved.
Define Why You’re Migrating (And What Needs to Work Better)
Start by identifying what’s not working in your current setup.
Are you switching because your store is slow? Are plugins constantly breaking? Are you tired of managing hosting and updates?
Write down the core reasons. This gives you clarity on what must improve after migration, whether it’s speed, ease of use, SEO performance, or mobile UX.
Choose Your Migration Approach
Your migration approach depends on your budget, store size, technical comfort, and timeline.
There are 3 options:
1. Manual CSV Export/Import
Best for:
Small, simple stores with minimal SKUs and no complex relationships between products, customers, or orders.
How it works:
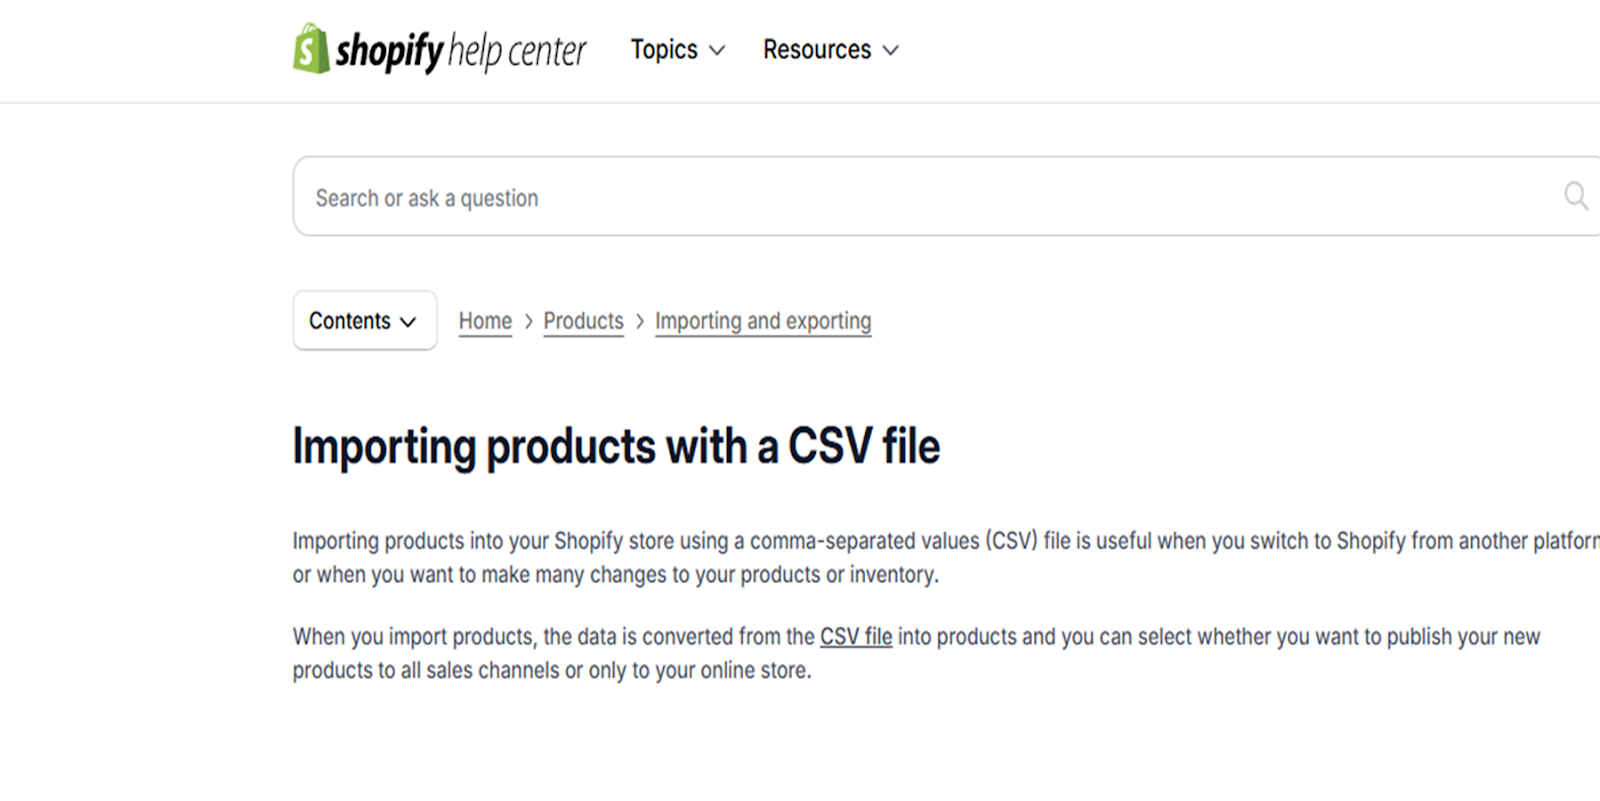
- Download Shopify’s sample CSV templates from their Help Center.
- Export data from your old store, one category at a time (products, customers, orders).
- Clean up the CSVs:
- Ensure columns match Shopify’s template (e.g., title, body_html, vendor, variant_sku).
- Remove special characters or line breaks that break imports.
- Fill in required fields, even if placeholders (like “Default Vendor”).
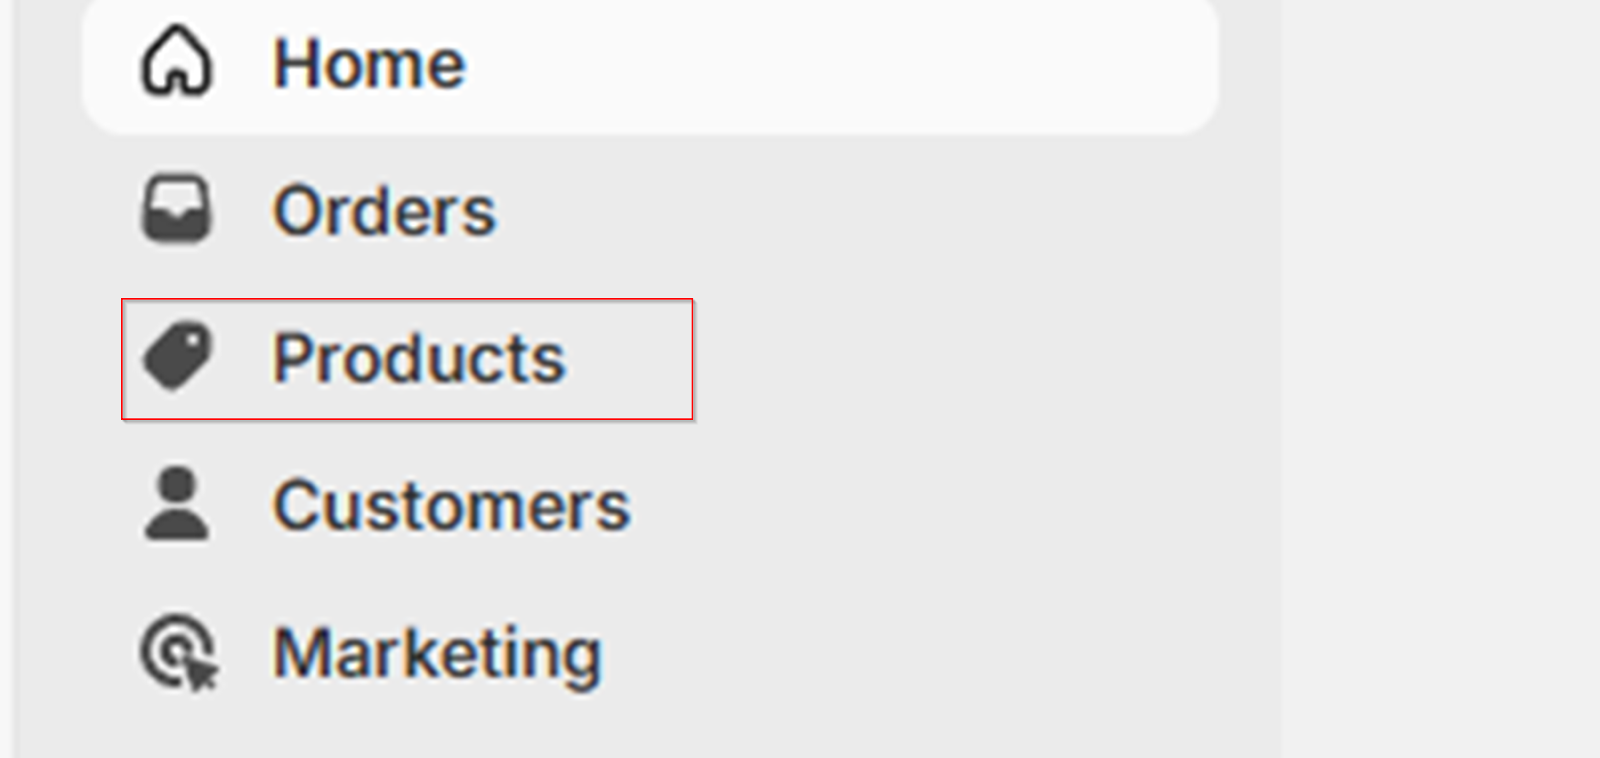
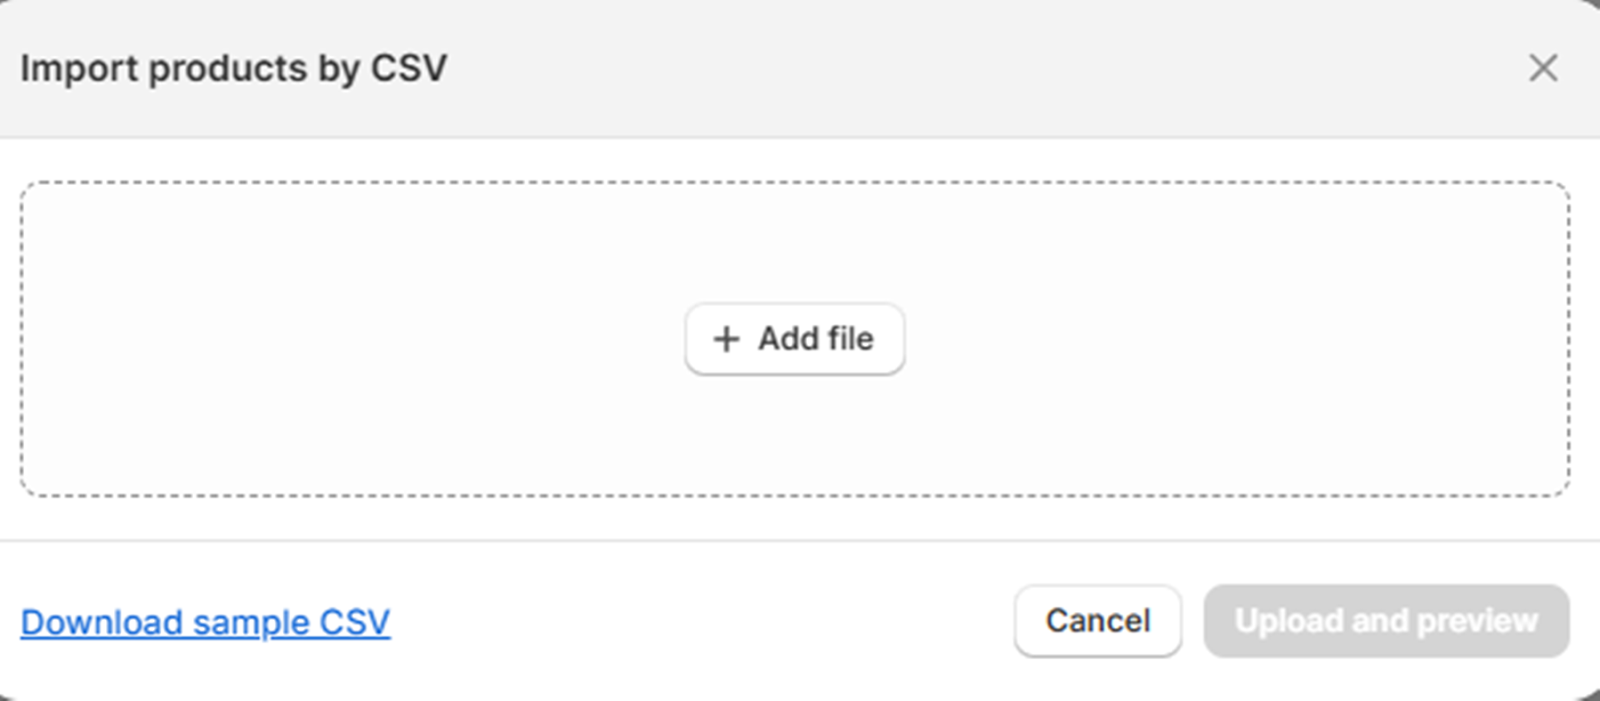
- Import via Shopify Admin → Products
→ Import
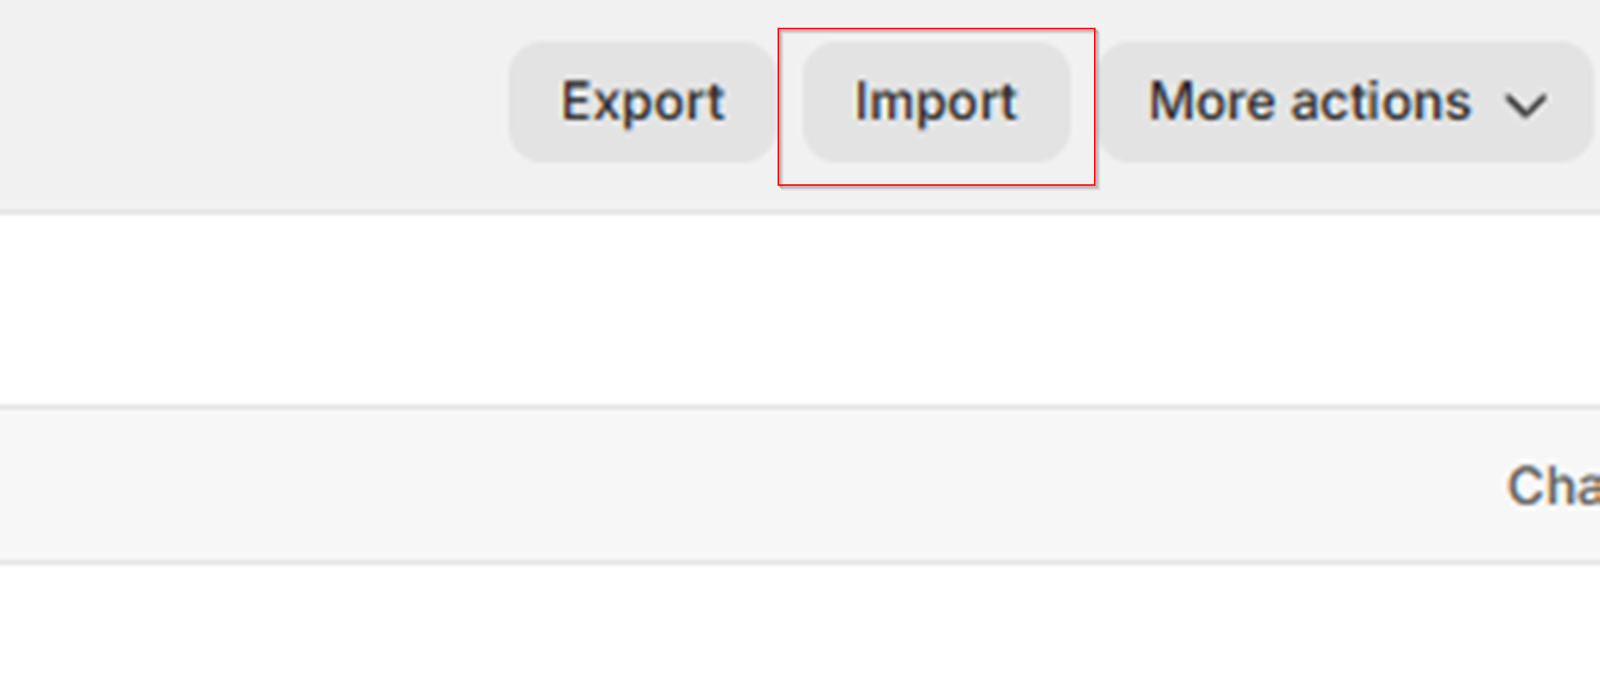
→ Upload CSV.
Downsides:
Time-consuming, error-prone, and doesn’t handle things like SEO metadata, URL redirects, or advanced customer/order relationships.
Avoid this method for stores with more than 100 SKUs or complex setups.
2. Shopify’s Native Import Tool
Best for:
Stores migrating from WooCommerce, BigCommerce, Wix, or Squarespace.
How it works:
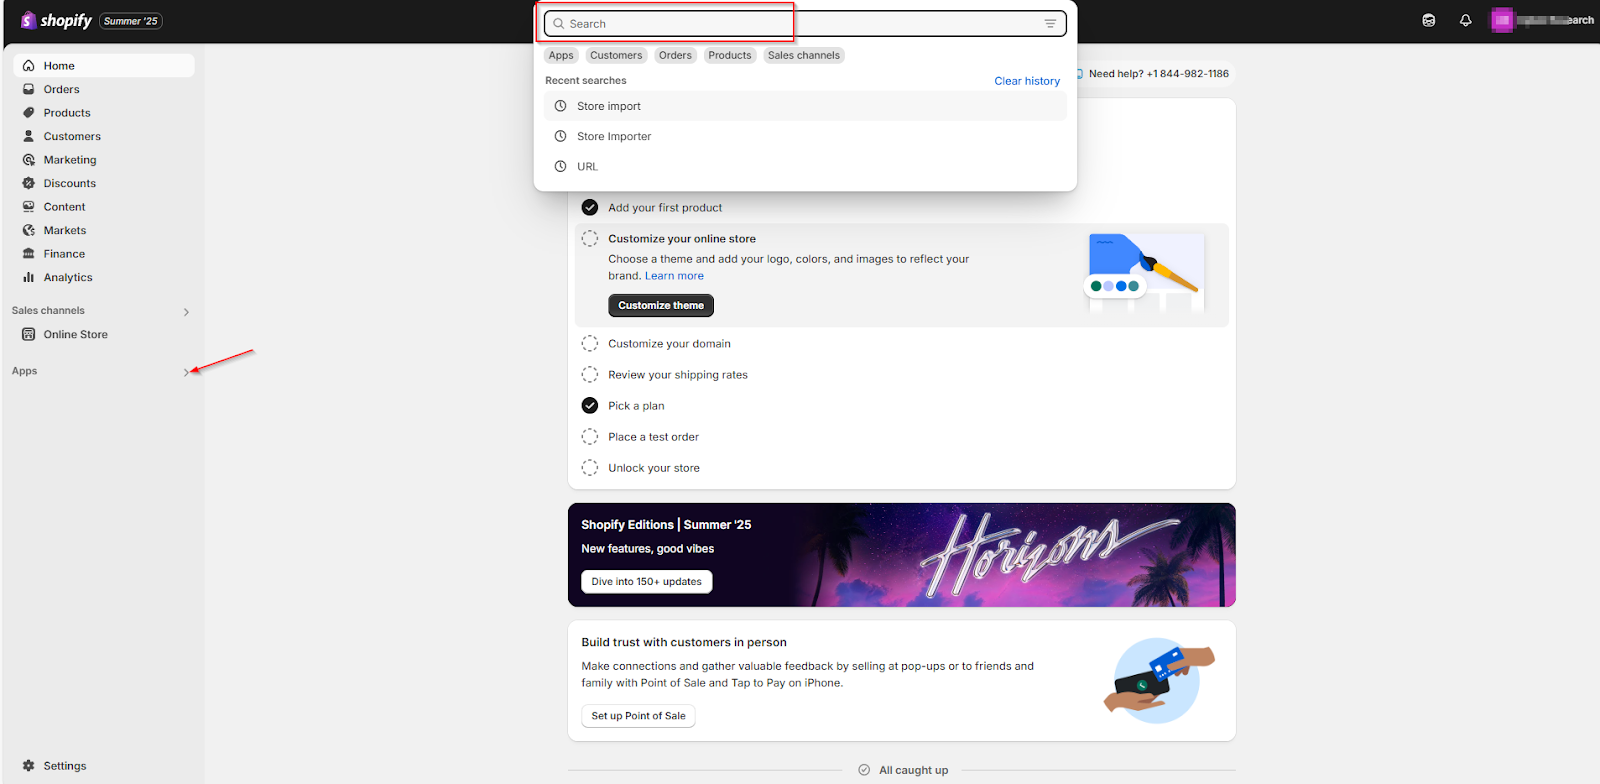
- Download and install the Store Importer app in your Shopify admin. Open “Apps” from Shopify admin and type “Shopify Importer”.
- Select your old platform and upload the exported ZIP or XML file.
- Review what will be imported, and Shopify will show you a summary.
- Import and verify everything post-import. Some manual cleanup is always required.
Tips:
- WooCommerce imports are more accurate than others. Wix and Squarespace often require manual fixes.
- Image links may break. Always double-check media.
- URLs and metadata won’t transfer, plan on re-adding SEO info manually or using a migration app later.
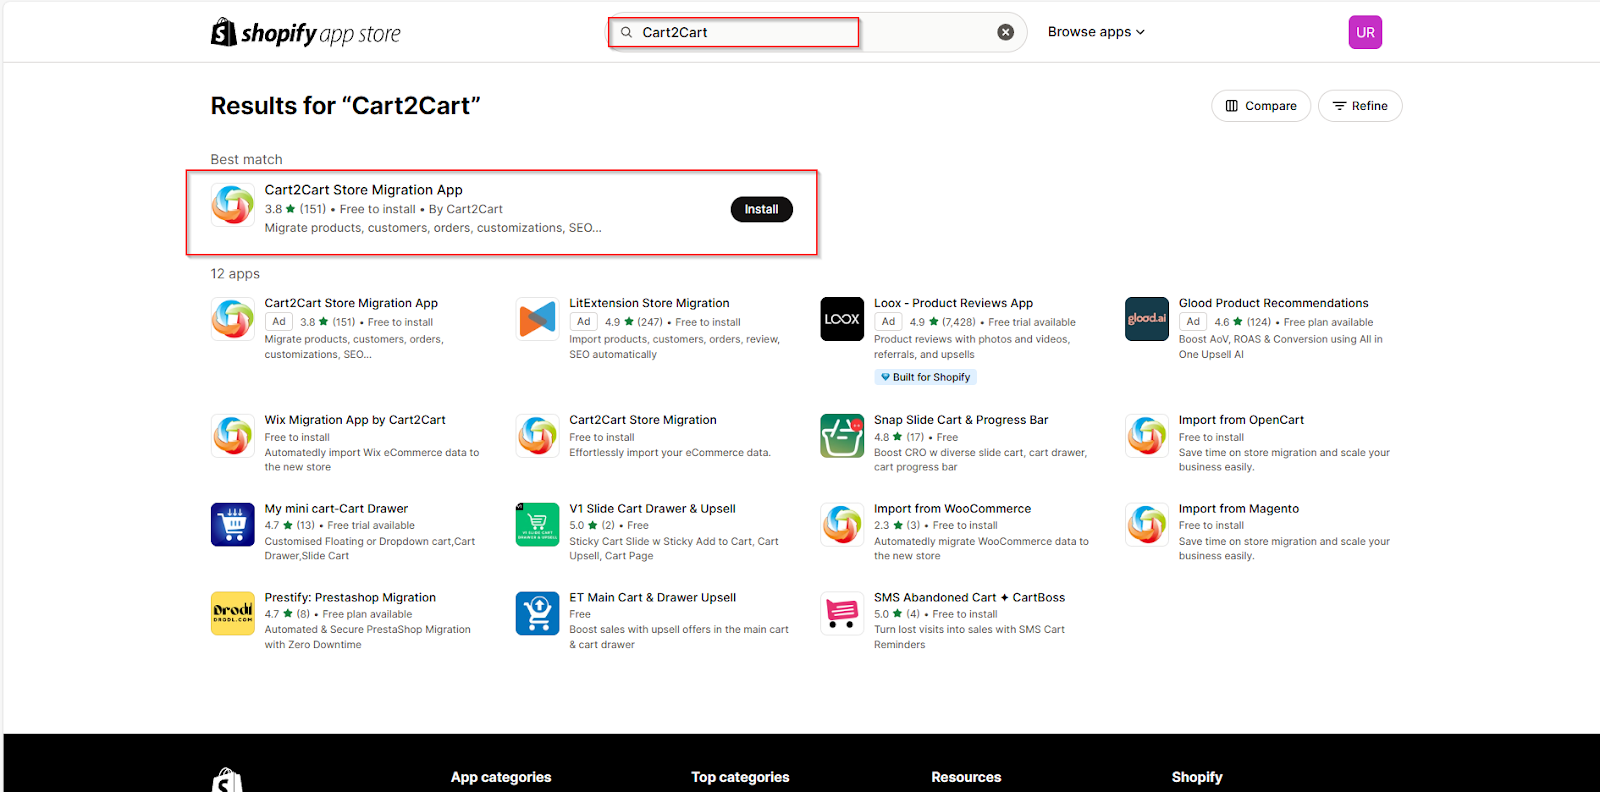
3. Third-Party Tools (e.g., Cart2Cart, LitExtension)
Best for:
Mid-sized to large stores with lots of SKUs, historical orders, customer accounts, and detailed product structures.
Steps:
- Download Cart2Cart or LitExtension through the Shopify App Store.
- Create accounts.
- Select source and destination platforms.
- Grant temporary access (usually via API keys or admin login).
- Choose what to migrate such as products, customers, orders, CMS pages, metadata, etc.
- Run a demo migration to preview how things will transfer.
- Launch full migration and monitor the process.
Caution: You still need to do post-migration QA. These tools are powerful but not perfect. especially when dealing with custom logic or non-standard themes.
4. Hire a Migration Partner (Like Uptek)
Best for:
Businesses that want a stress-free, expert-led migration, especially those with large catalogs, heavy SEO focus, or custom platform setups.
How it works:
An experienced Shopify migration team handles everything from pre-migration audits to SEO-preserving redirects and app setups.
We treat each migration like a full-stack project. We
- Audit and clean your data before it touches Shopify
- Preserve SEO by handling redirects, metadata, and Search Console prep
- Rebuild your store layout using Shopify-native themes and app integrations
- Customize your backend logic if your old platform had shipping rules, customer tiers, or automation flows
- Provide QA and launch-day support, including DNS transition, checkout testing, and bug fixes
If you don’t want to gamble with data loss, broken UX, or missed redirects, hand it over to people who’ve done it hundreds of times.
Run a Full Data Audit
You need to know what you’re moving and what’s worth leaving behind. Run an audit of:
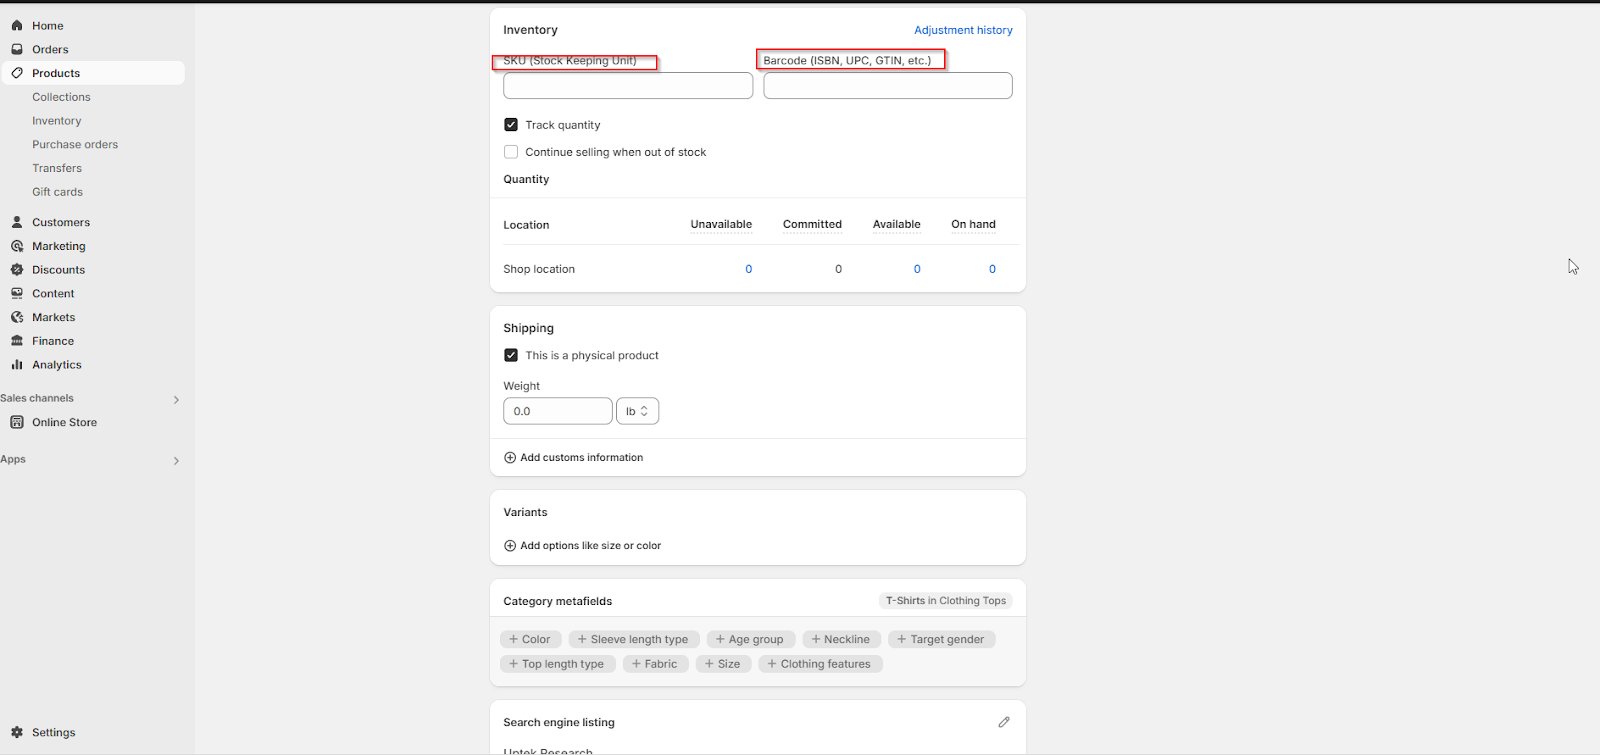
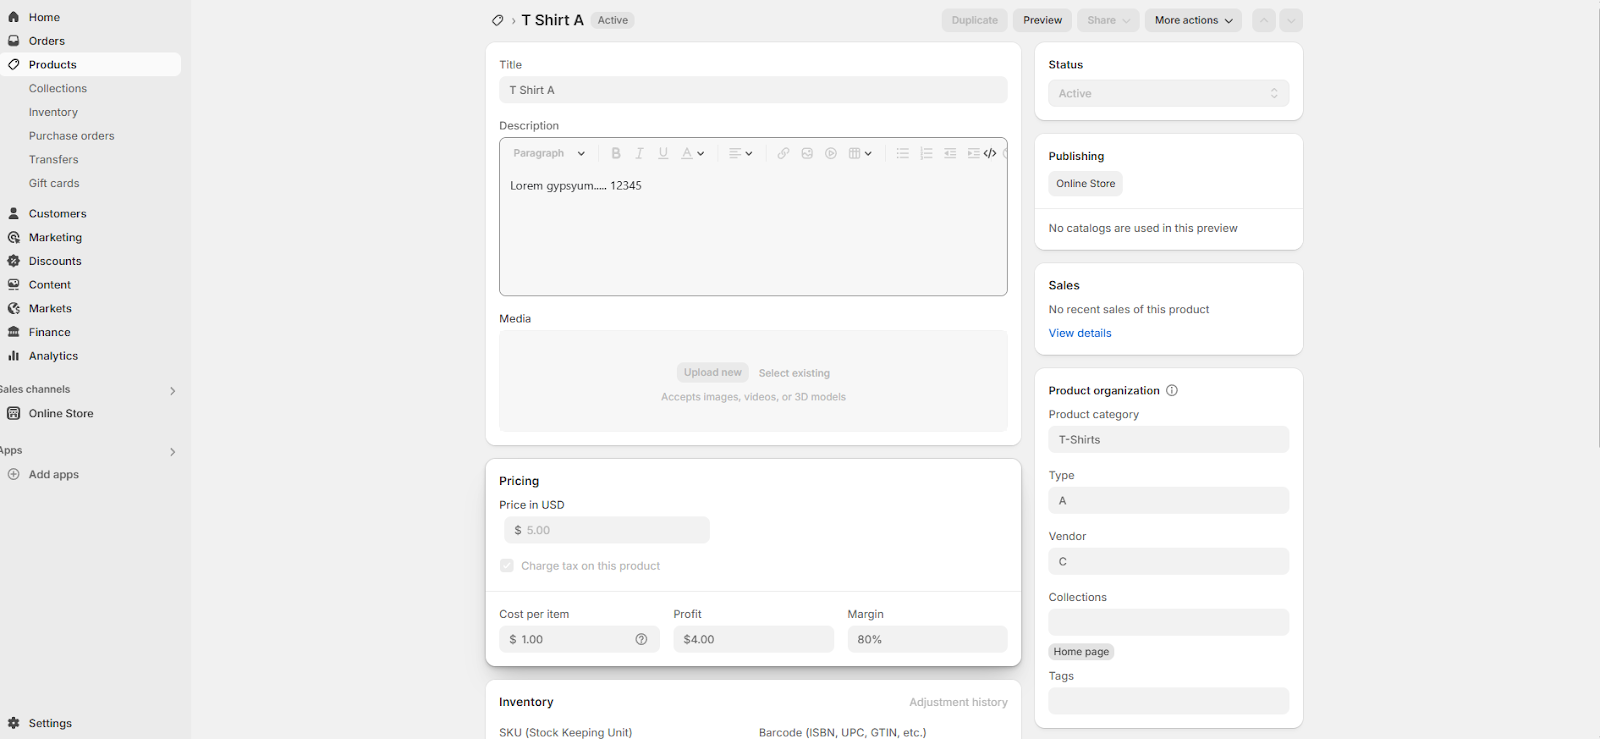
- Products: Check SKUs, variants, inventory levels, metafields, product types, and tags.
First Go to Products.

Open the product you want to check.
- Collections: Note how they’re organized and whether any are auto-generated or manually curated.
- Customers: Make sure emails, names, tags, and customer groups are clean and useful.
- Orders: Decide how much order history you need such as 6 months, a year, or all-time. Some platforms limit how this data is exported.
- Pages and Blog Posts: Mark important URLs that drive traffic or have backlinks (you’ll need to redirect them later).
- Apps and Integrations: List current plugins, CRMs, payment gateways, and email tools.
Tip: Use a spreadsheet to track each data category and whether it’s clean, needs attention, or is no longer needed.
Clean Your Data Before You Move It
It’s a common practice for store owners to migrate messy data and think about fixing it later on.
Myth buster: Messy data only makes it harder for you to manage the store setup later on. Fix it now, while you’re still on your current platform.
Try to:
- Remove duplicate products or outdated items.
- Standardize naming conventions (SKUs, variant names).
- Check image quality and product descriptions.
- Re-tag products with a logical structure. Shopify uses tags and collections heavily for navigation.
- Eliminate inactive customers or fake accounts.
- Fix any broken links in pages or blog posts.
Backup Your Current Store
Before you touch anything, create a full backup. This is your safety net.
Data that needs to be backed up includes:
- Product data, customer info, and order history (CSV or database export)
- Themes and layout (screenshots + code if possible)
- Custom scripts or plugins you may want to replicate
- Homepage, cart, checkout, and product page screenshots
- Navigation menus and collections
Tip: Take screenshots of your entire store such as page layouts, banners, checkout flows, etc. They’ll be helpful when rebuilding the theme on Shopify.
Export Your SEO Data
If your site gets any organic traffic, never forget about expecting the SEO data.
Firstly:
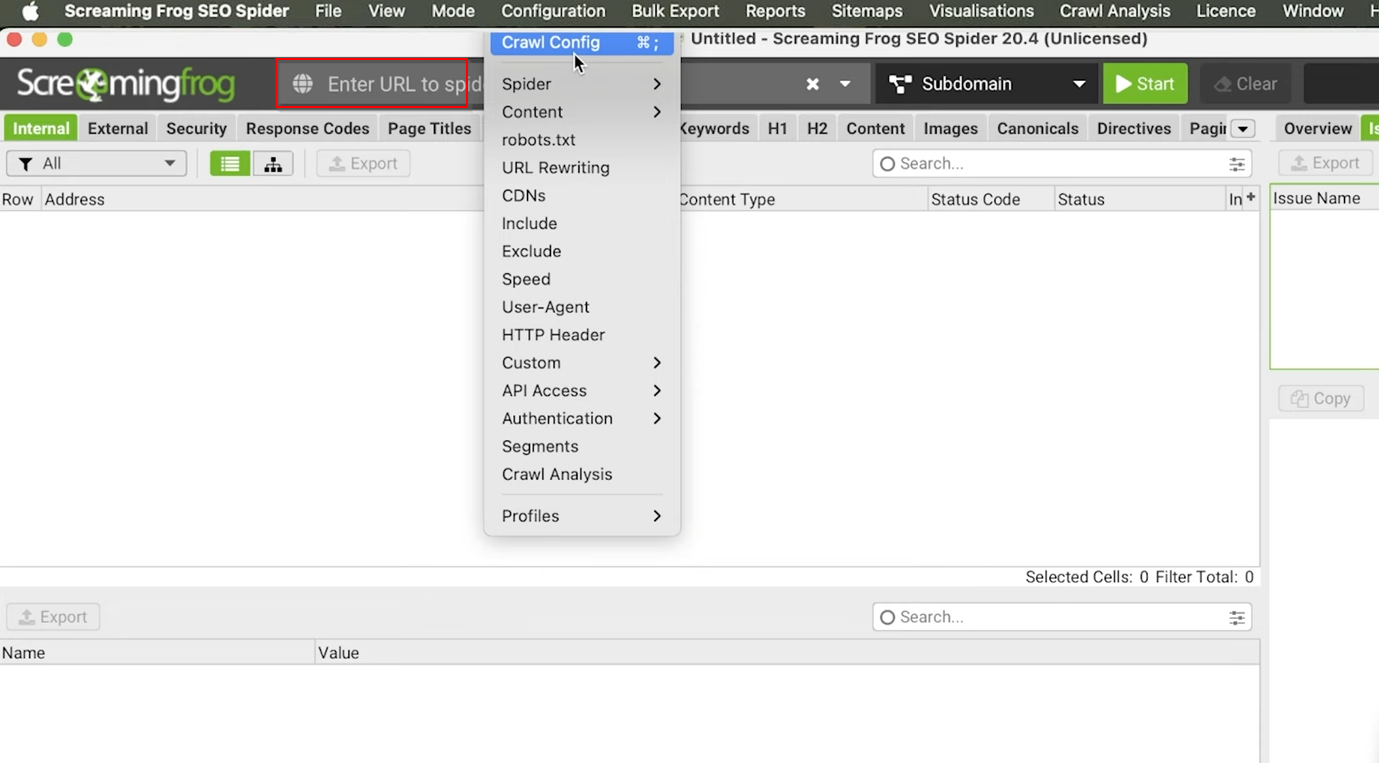
- Crawl your existing URLs using a tool like Screaming Frog or Ahrefs.
- Export a list of all URLs (you’ll need this for redirects later)
- Download meta titles, descriptions, and H1s.
- Note alt text and image filenames (if possible).
- Identify high-performing pages so you can prioritize them post-migration.
Document Your Current Store Setup
Write down every setting and feature that matters including tax rules, shipping zones, and payment gateways.
Also, make a list of any custom logic (like shipping thresholds or checkout upsells) and apps tied to order fulfillment or email automation.
This gives you a blueprint to follow when setting things up on Shopify, without having to guess.
Once this pre-migration prep is done, you’re in a strong position to start the migration process.
Shopify Migration Process: Explained
Your store is prepped. Your data is clean. Now it’s time to move.
This phase is about transferring everything to Shopify in a way that keeps your store stable, usable, and conversion-ready.
We’ll cover account setup, product/customer data import, theme setup, payments, and app reconfiguration, all in the right sequence.
If you’re currently on WordPress and wondering how to move from WooCommerce to Shopify smoothly, check out our full guide on WooCommerce to Shopify migration, where we walk you through every step to make the switch effortlessly.
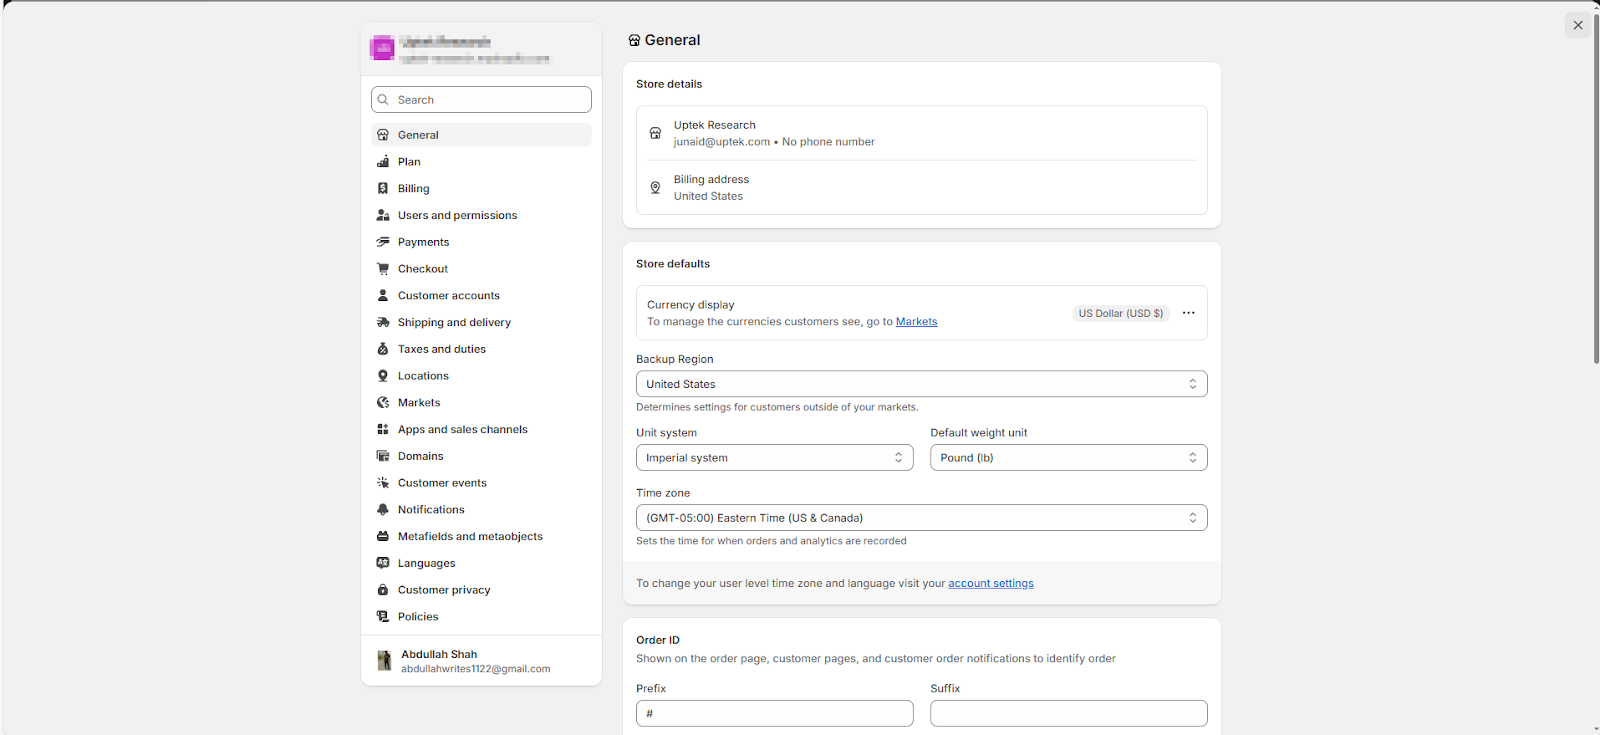
Step 1: Set Up Your Shopify Store and Core Settings
Before importing anything, configure the foundation of your Shopify store.
- Create your Shopify account and choose a plan (start with a free trial if you’re still testing).
- Set your store details: name, business info, time zone, currency, and default language.
- Configure legal pages: return policy, privacy policy, terms of service, and shipping policy.
- Choose your primary domain (you’ll connect this later when going live).
Double-check all settings under Settings → Store details to avoid mismatches during import.
Step 2: Choose and Customize Your Theme
Your theme determines how your store looks and functions and Shopify’s themes behave differently than many other platforms.
- Pick a Shopify-approved theme from the Theme Store. If you’re recreating an old design, choose a layout with similar sections (hero banners, featured products, testimonials).
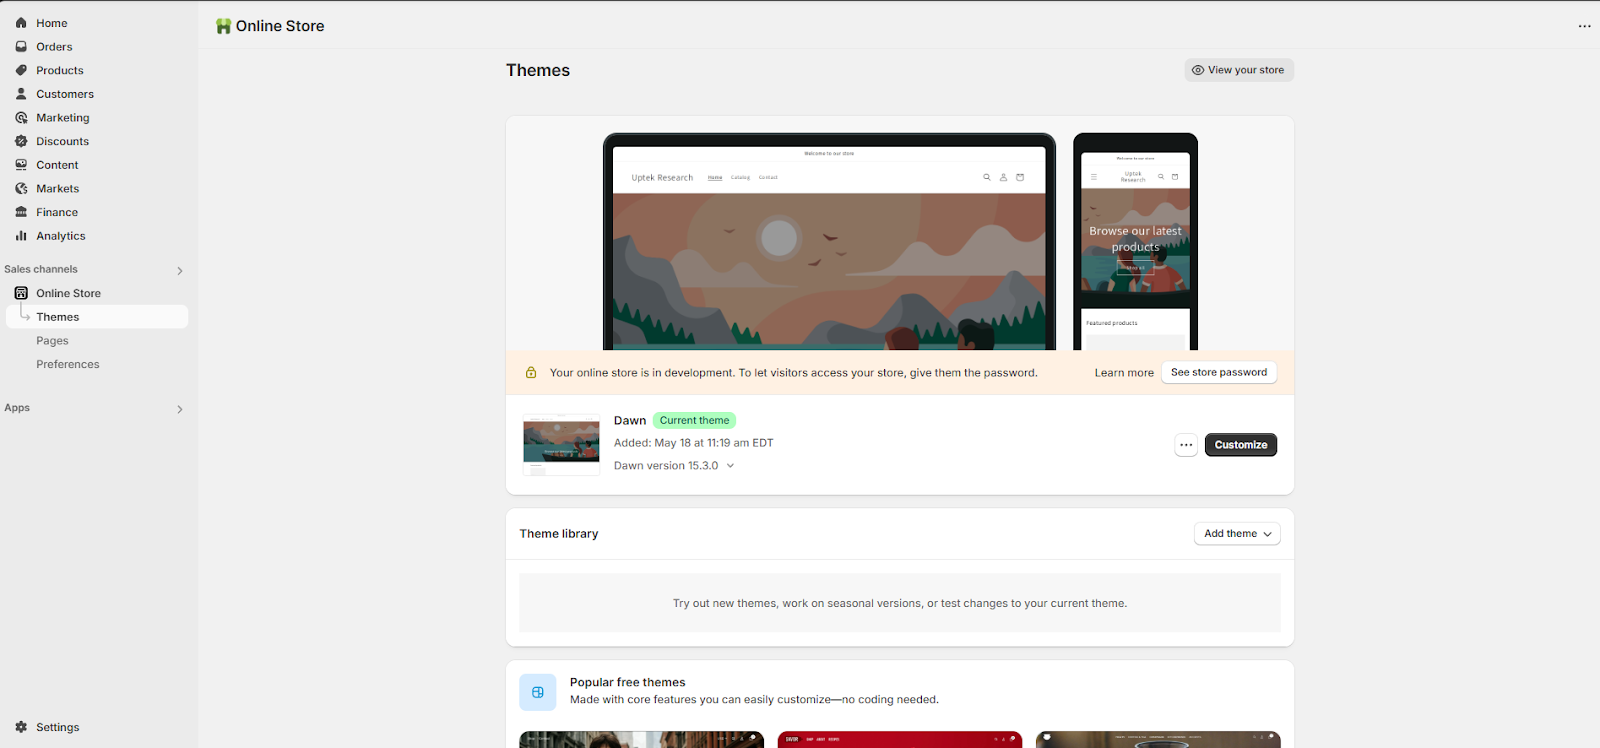
- Customize the layout using Shopify’s Theme Editor (no code needed).
- Set up:
- Homepage layout
- Header/footer navigation
- Product cards
- Mobile Optimization
Tip: Don’t skip testing responsiveness across devices. Shopify themes are responsive, but your customizations might break that flow.
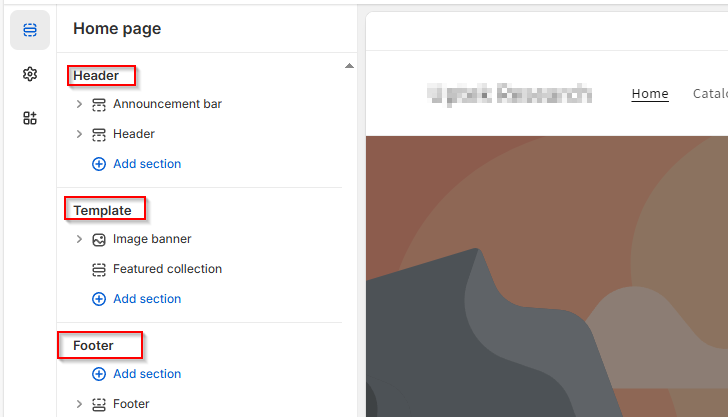
Step 3: Rebuild Collections and Navigation
Categories in Shopify are managed using collections and tags, not traditional nested categories like in WooCommerce or Magento.
- Set up Manual Collections for key categories (e.g. Men’s Shoes, Home Decor).
- Use Automated Collections where possible (e.g. “All products tagged with ‘summer’”).
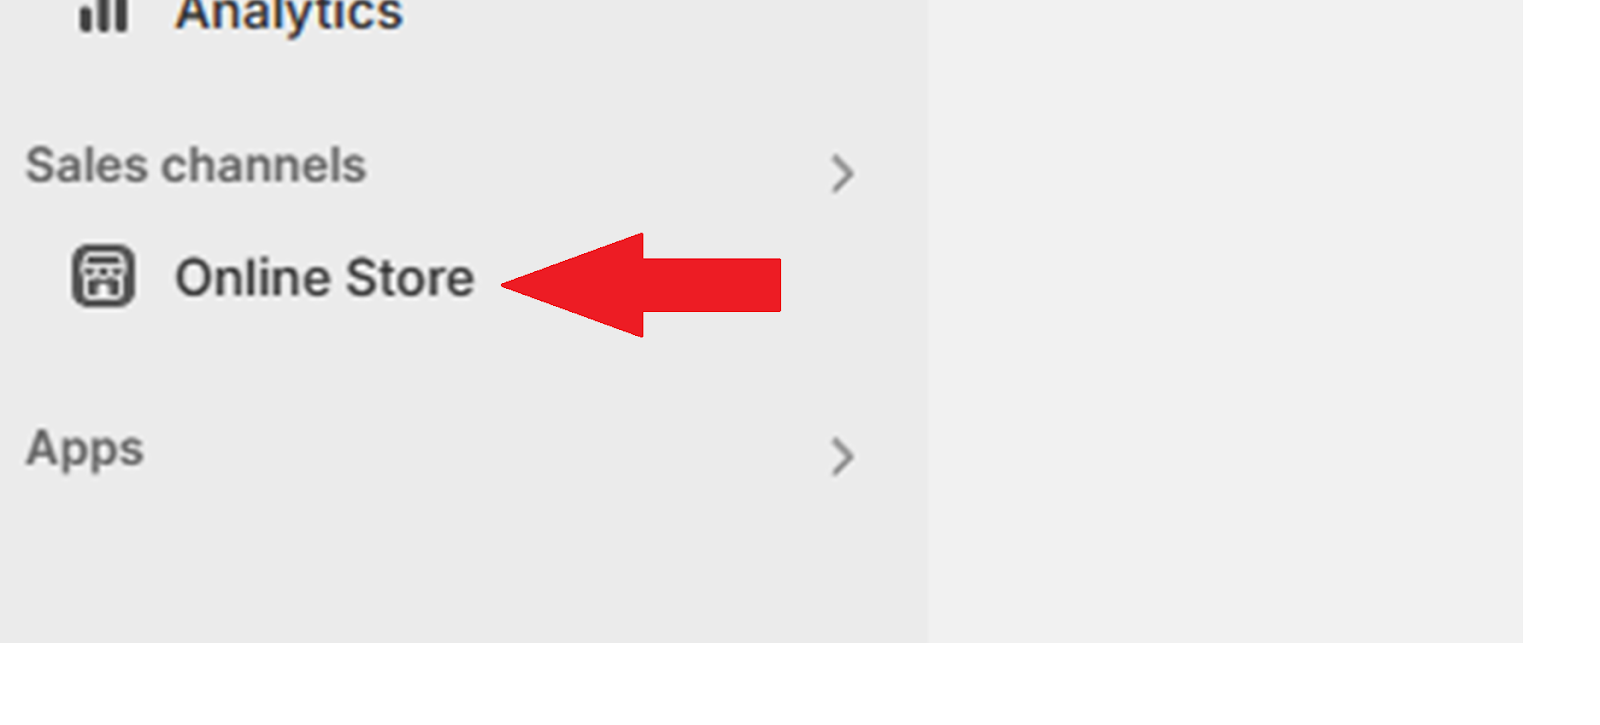
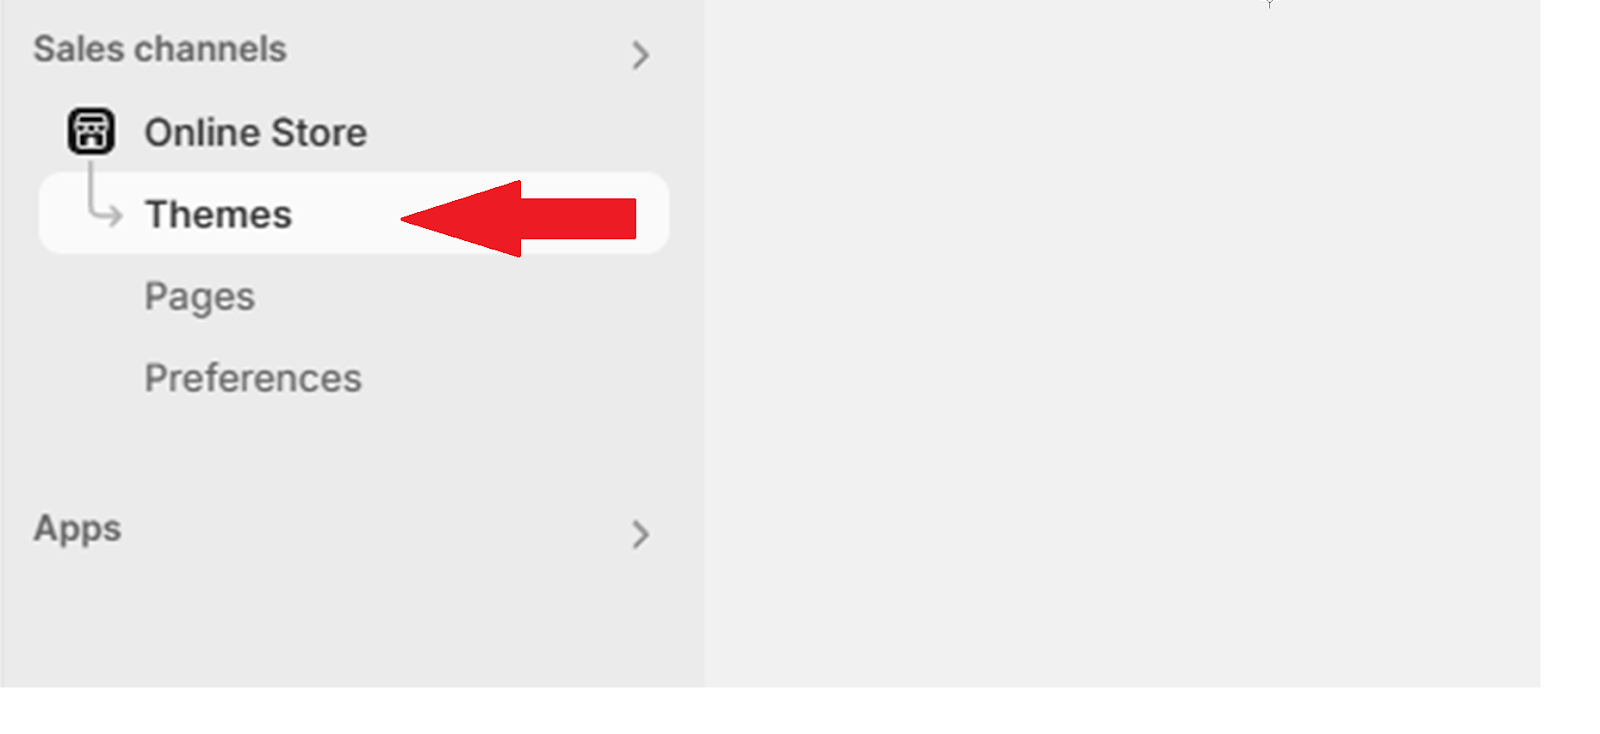
- Rebuild your navigation using the Online Store → Themes → Navigation:
Check:
- Main menu
- Footer menu
- Any custom menus used in megamenus or mobile nav
Stick to the same category structure you used before unless it caused problems. Consistency equals fewer SEO surprises.
Step 4: Import Your Product Data
Product data is the core of your store. Whether you’re using manual CSV import or a migration tool, the same data needs to land cleanly.
- Use Shopify’s CSV template if importing manually.
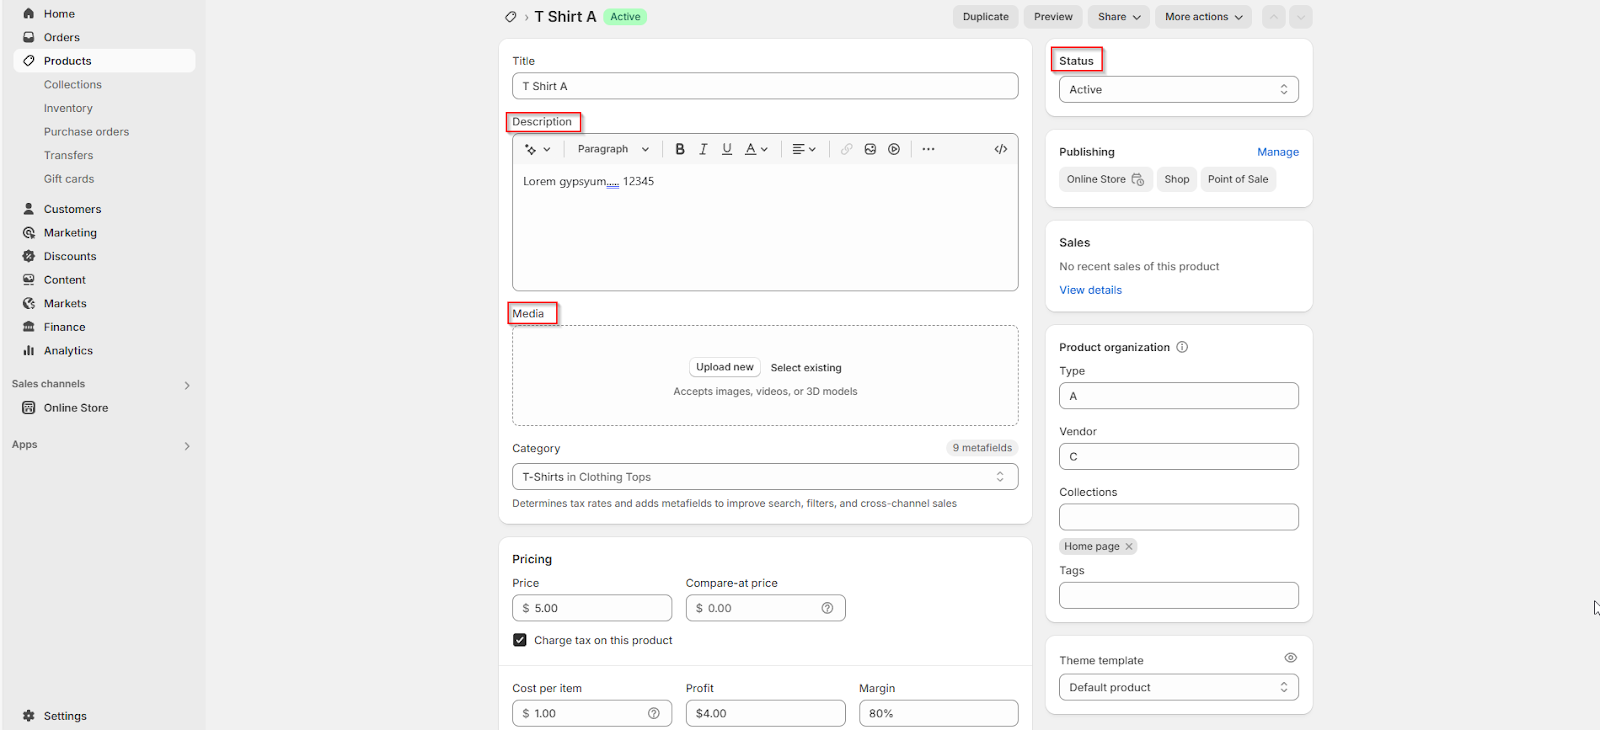
- Verify key fields:
- Title
- Description (body_html)
- SKU
- Variants (size, color)
- Inventory levels
- Tags and collections
- For large catalogs, use a migration app like LitExtension or Cart2Cart for cleaner handling of variants and metafields.
- Double-check:
- Product images (some URLs may break during migration)
- Inventory sync if using third-party tools like TradeGecko, Stocky, etc.
Tip: After import, spot-check 5–10 random products to verify titles, variants, and pricing.
Step 5: Import Customer Data
Customer records are tricky as not all platforms export them in the same format. What you can do is to:
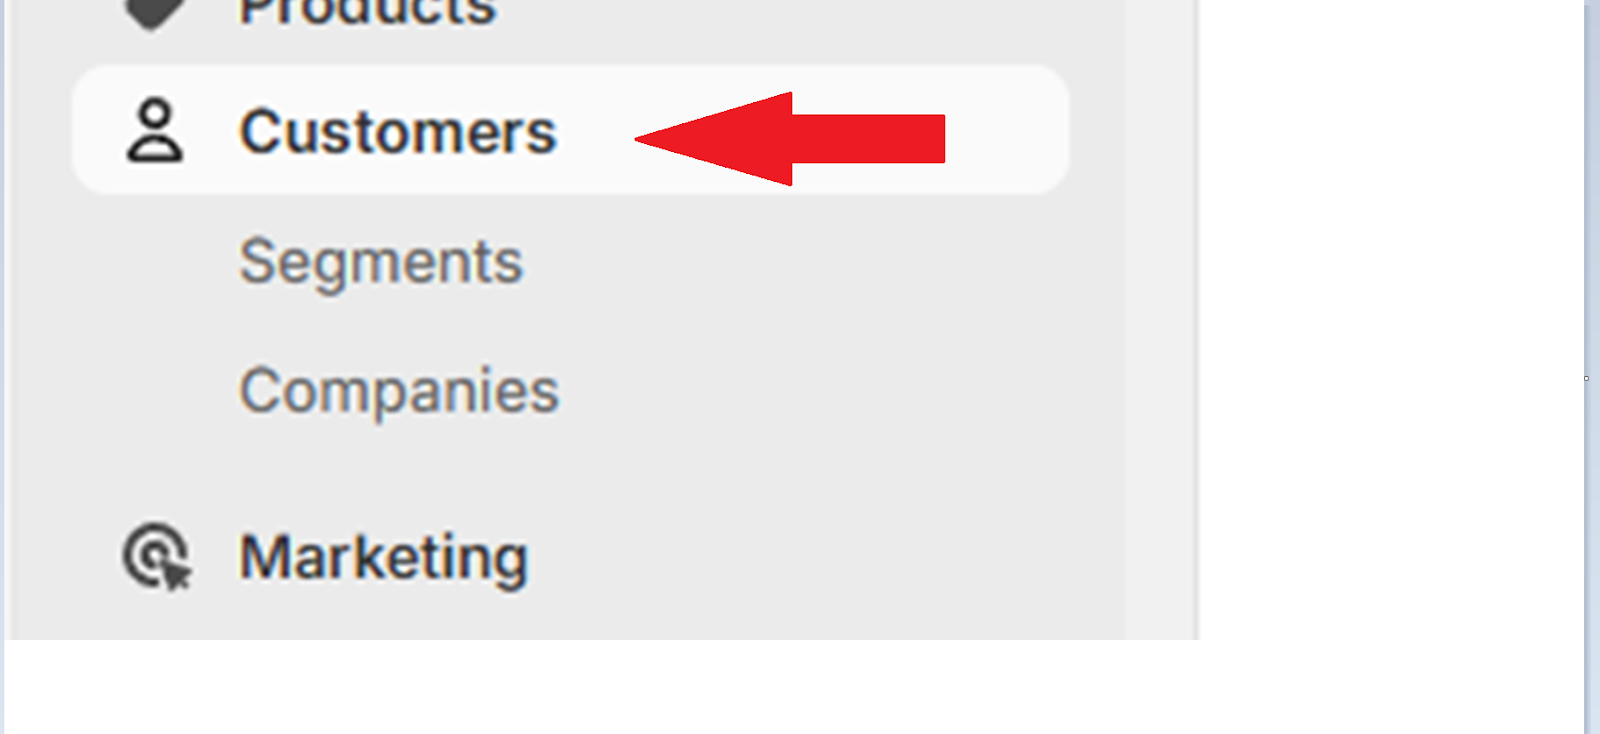
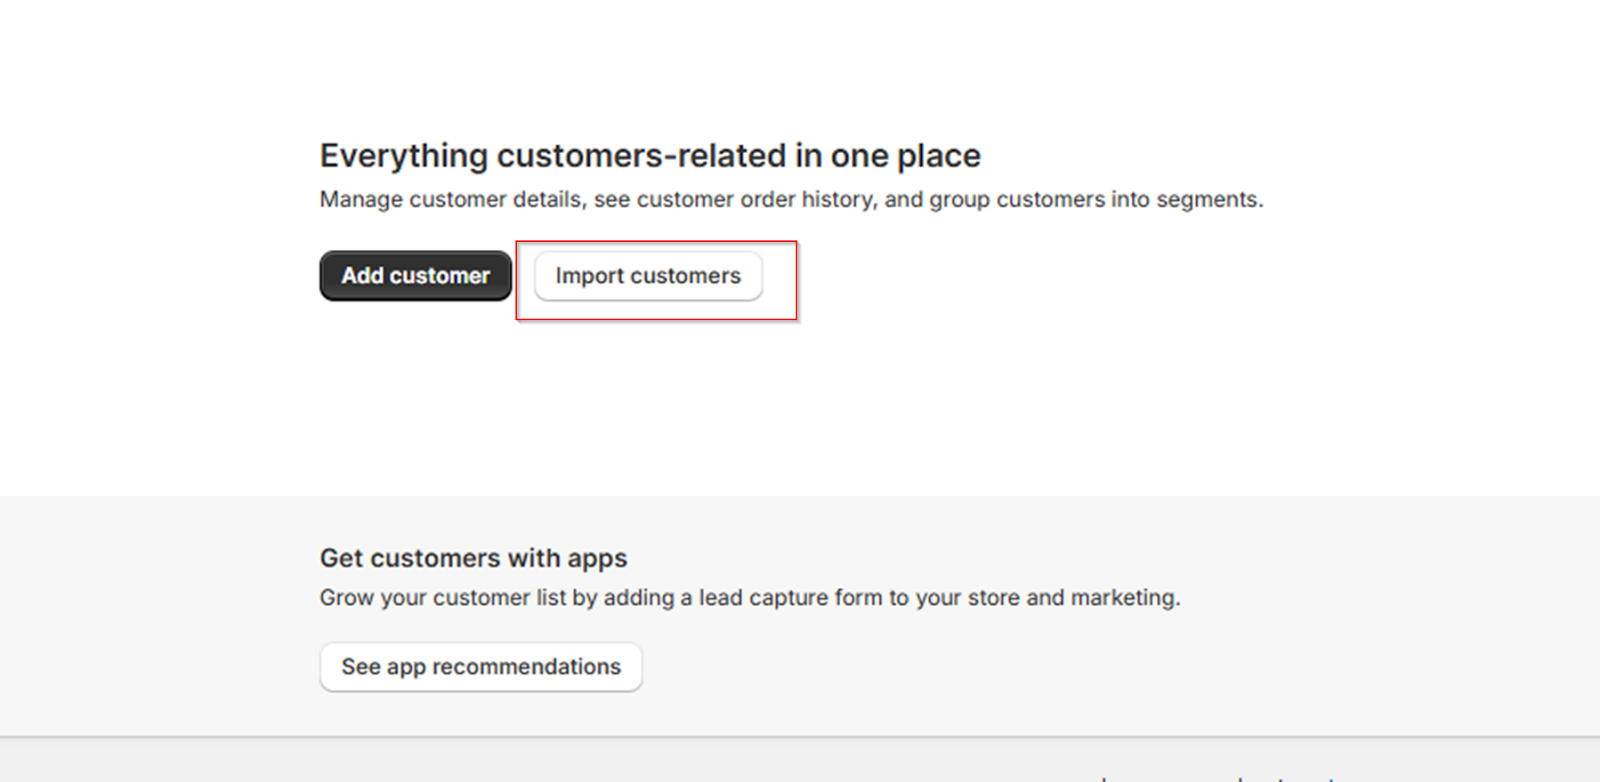
- Use Shopify’s customer CSV import tool. Go to Customers.
- Import Customers:
- Include:
- Full name
- Tags (VIP, Wholesale, etc.)
- Total spend (optional, but useful for segmentation)
- Consider using a welcome email to explain the transition and offer a discount as a reactivation incentive.
Send account invites after DNS is switched and the new site is live.
Caution: Passwords cannot be migrated due to encryption. Customers will need to reset their passwords unless you’re using a tool that supports sending invites (e.g. Shopify’s bulk account invite feature or an app like Bulk Account Invite Sender).
Step 6: Import Order History
Importing order history isn’t a famous practice but it’s important for analytics, customer service, and loyalty campaigns.
For importing order history:
- Use an app like Matrixify or LitExtension to migrate orders, including:
- Order IDs
- Purchase dates
- Customer info
- Products ordered
- Order statuses
- Mark old orders as “fulfilled” to prevent confusion.
Orders will not trigger transactional emails unless sent manually or configured via the app.
Step 7: Rebuild Pages and Content
Some content won’t transfer, especially your About page, Contact, and blog posts.
A good practice is to manually copy your content into Shopify’s page builder.
Recreate blog posts via Online Store → Pages. For bulk imports, consider using Matrixify.

And recheck formatting (bold text, images, embeds). Shopify’s editor may strip certain HTML.
Step 8: Reinstall Apps or Find Shopify Equivalents
Shopify doesn’t use WordPress plugins or Magento modules, you’ll need to replace most third-party tools with Shopify-native apps. Try to:
- List out every app or plugin you used before.
- Visit the Shopify App Store and find replacements for:
- Email marketing
- Reviews
- Loyalty/referrals
- Wishlist or upsell tools
- Shipping/fulfillment integrations
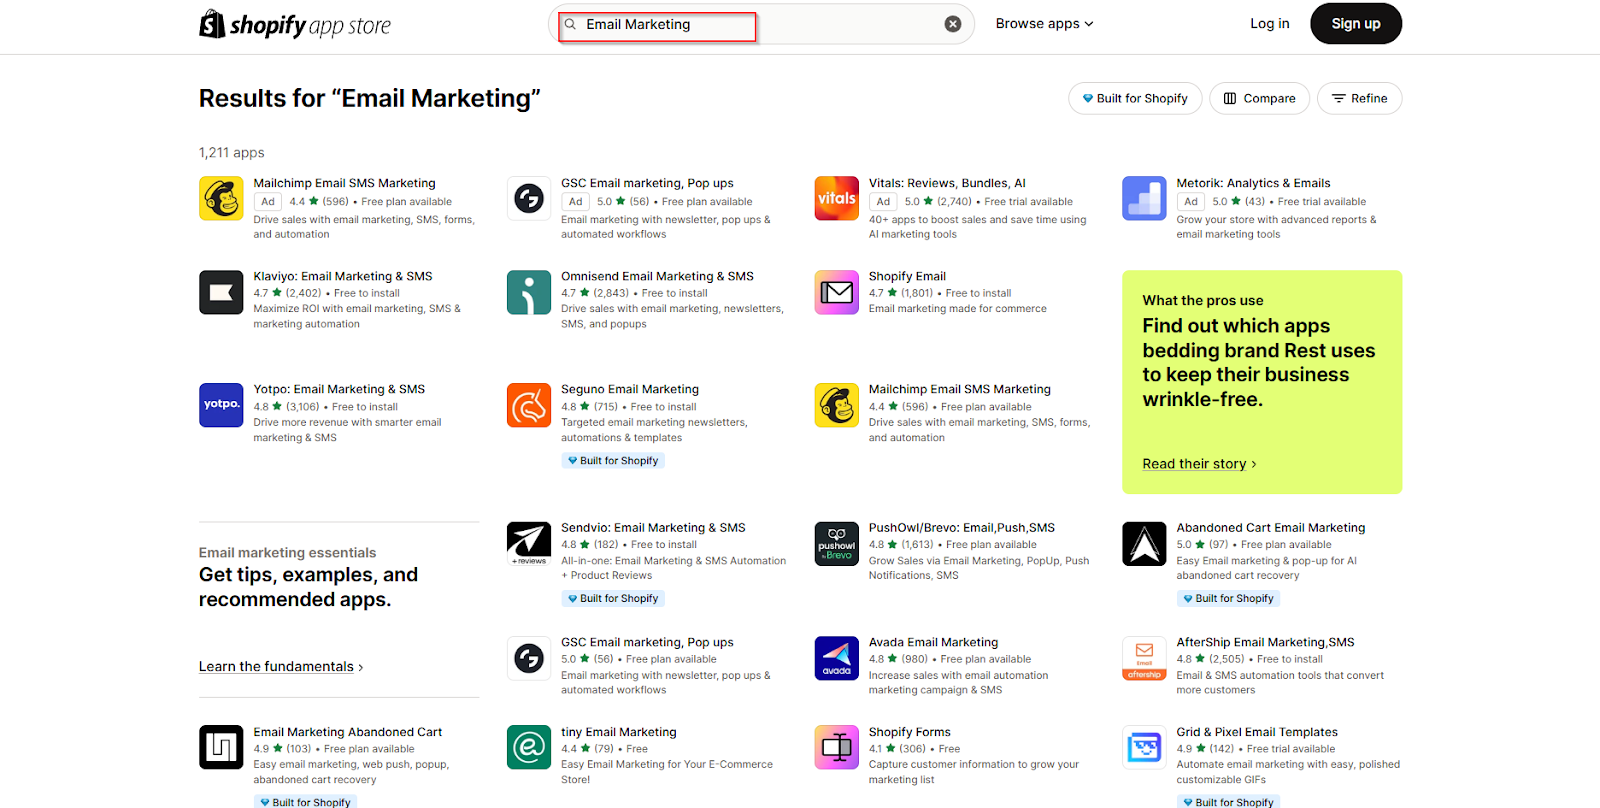
- Install only what you need (extra apps slow down your site)
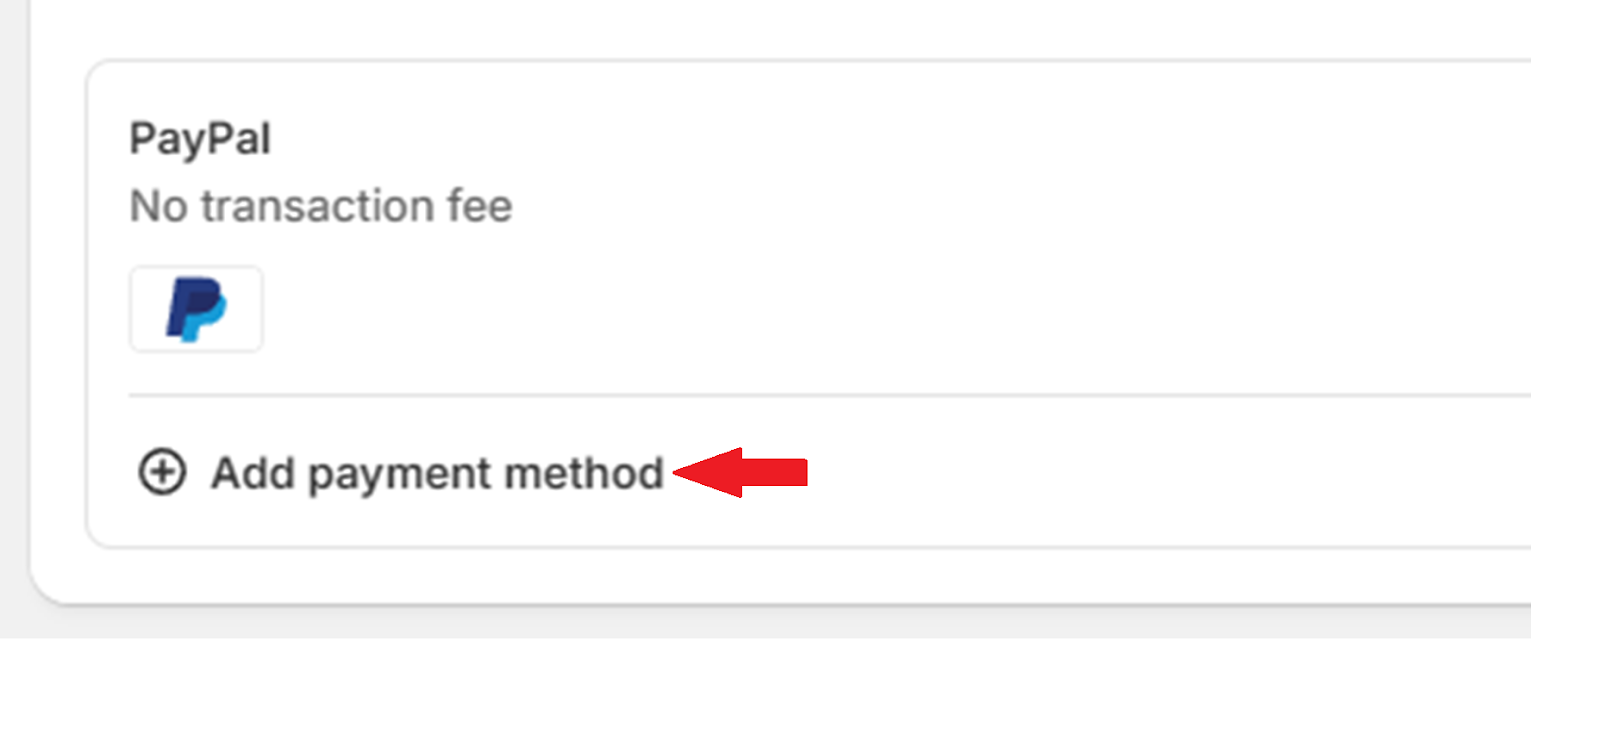
Step 9: Set Up Payments, Taxes, and Shipping
This is where mistakes can cost you real money and store owners should be testing everything.
- Go to Settings → Payments and activate:
- Shopify Payments
- PayPal
- Manual methods (Bank Deposit, COD)
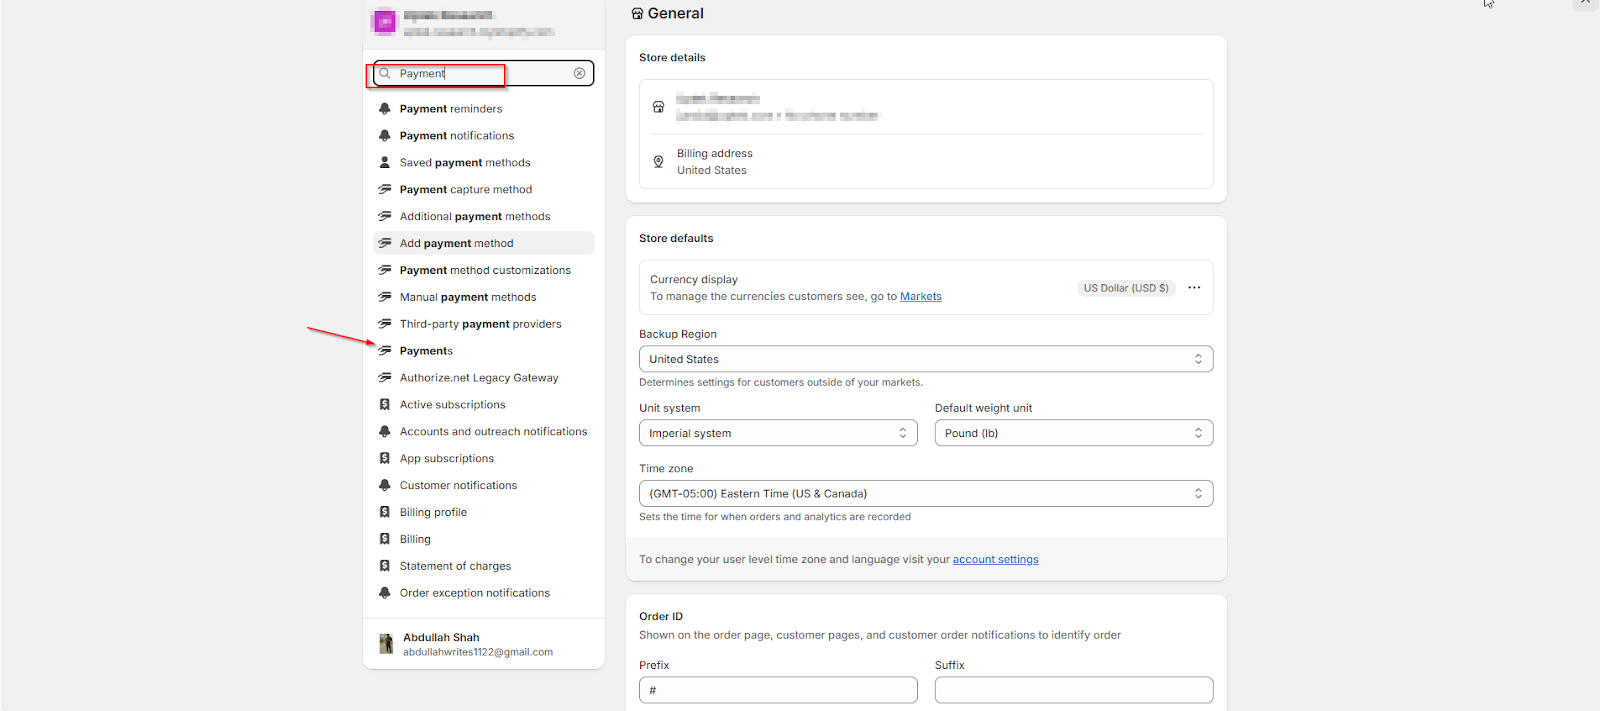
- Set tax rules by region under Settings → Taxes and duties
- Configure shipping zones, rates, and options (flat, weight-based, real-time via carriers)
Use a test order to make sure payments, taxes, and shipping are all calculated correctly.
Step 10: Set Up Redirects and SEO Settings
You need to protect your rankings and backlink profile, this is non-negotiable. First:
- Use your old URL list (from the pre-migration crawl).
- Map each URL to its new Shopify version.
- Go to Online Store → Navigation → URL Redirects to set 301s.
- Update meta titles, descriptions, and alt tags using Shopify’s built-in editor or apps like Small SEO.
Post-Migration Checklist: Don’t Launch Until You’ve Verified These Essentials
You’ve moved the data. You’ve rebuilt your store. But you’re not ready to go live until you’ve tested everything like a customer and like a developer.
This phase is about catching silent errors before they turn into public failures.
Use this checklist to make sure every part of your store is functioning, optimized, and ready for real traffic.
Test the Shopping Experience from Start to Finish
Your priority is testing the full customer journey, from browsing to purchase.
- Search for products using the site search
- Filter collections (e.g., by size, price, type)
- Add products with variants to the cart
- Adjust quantities
- Apply coupon codes (if applicable)
- Complete a test purchase using Shopify’s Bogus Gateway or a $1 product
- Test email confirmations for:
- Order confirmation
- Shipping notification
- Account creation
Test on both desktop and mobile (some issues only show on one)
Check Product and Content Accuracy
Migrated content often breaks in subtle ways, especially HTML descriptions, variant images, and embedded videos. Important factors to check include:
- Product titles, SKUs, and variants are displaying correctly
- Descriptions are clean and readable
- Product images load fast and display in the correct order
- Tabs, collapsible sections, or videos work as expected
- Reviews (if migrated) show under the correct product
- Collection pages show the right products
Tip: Open 10–15 random product pages and check them manually. Don’t rely on spot-checking your bestsellers alone.
Run a Full Crawl of Your Store
A proper crawl tells you what Google sees and what you need to fix before launch.
Use tools like:
- Screaming Frog
- Ahrefs Site Audit
- Sitebulb
What to look for:
| Issue Type | Why It Matters | Fix Notes |
|---|---|---|
| 404 Pages | Broken links kill SEO and user trust | Add 301 redirects or fix broken internal links |
| Duplicate Titles | Causes SEO confusion and ranking drops | Update in Shopify Admin or use SEO plugin |
| Missing Meta | Weakens search appearance and clickthroughs | Fill in for every major page |
| Long Redirect Chains | Slows page load, hurts UX | Keep it to a single 301 |
Crawl before and after redirect setup to validate everything works.
Confirm All Redirects Are Working
If you changed URLs during migration (very likely), you must map all old URLs to their Shopify versions using 301 redirects.
Steps Include:
- Take the list of URLs from your old platform (you should have crawled this in the pre-migration phase).
- Map them to the new Shopify URLs manually or using a tool like Screaming Frog’s Bulk Redirect Generator.
- Add them in Shopify under Online Store → Navigation → URL Redirects.
Tip: Avoid using JavaScript redirects or redirect apps. Use Shopify’s native redirect tool for faster load and better SEO.
Recheck SEO Basics
You don’t need to be an SEO expert for a Shopify migration.
But you need to ensure that the Shopify store doesn’t launch with broken meta, unindexed pages, or blank alt text.
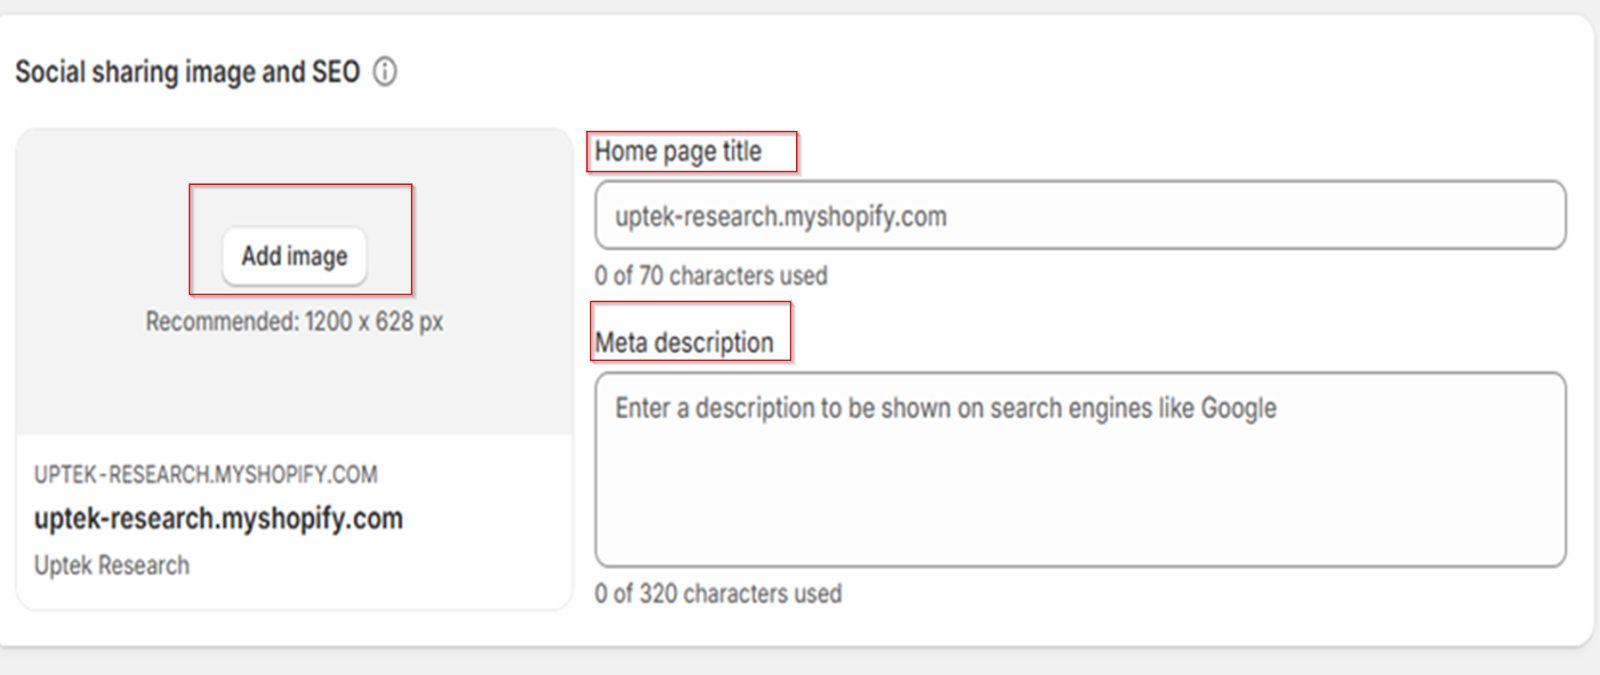
Open the Preferences Tab, and check that:
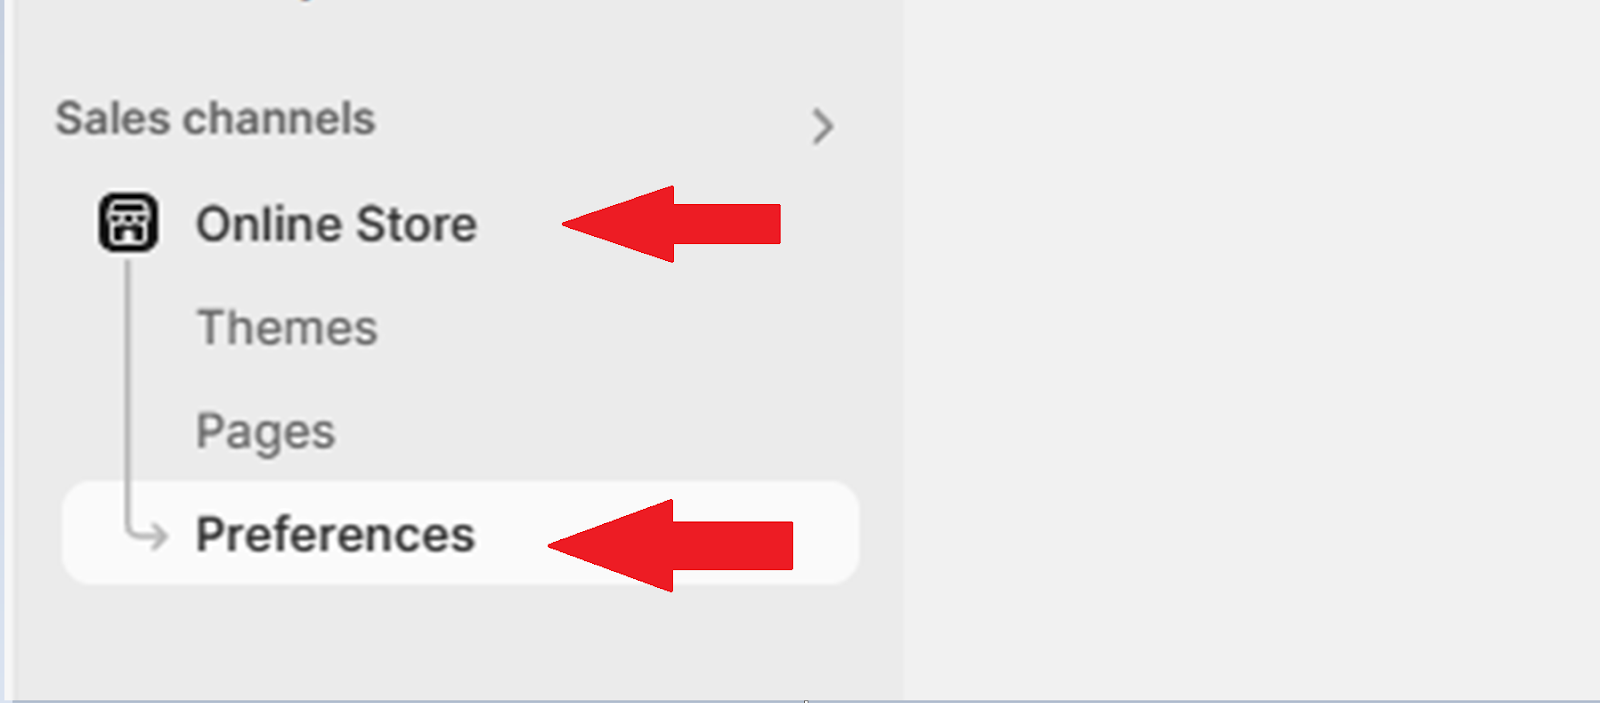
- The homepage has a custom meta title and description
- Each collection page has a unique title and description
- Product pages use unique H1s and include relevant keywords
- Image files are compressed and use descriptive filenames
- ALT text is in place (Shopify doesn’t add this automatically)
Caution: Don’t forget to enable search engine indexing in Preferences. Shopify sometimes disables this on dev stores.
Set Up Google Analytics and Meta Pixel
You need full tracking in place before launch. Retrofitting after means you lose launch data.
The major things to setup include:
- Google Analytics 4 (via Google & YouTube integration in Shopify Admin)
- Meta Pixel (using Facebook Channel or manually)
- Google Tag Manager (if you need custom event tracking)
Test tracking using Google Tag Assistant, Meta Pixel Helper, and Shopify’s analytics dashboard.
Submit Your Sitemap to Google
Your new site needs to be re-indexed, especially if your URLs changed.
- Login to Google Search Console
- Go to Indexing → Sitemaps
- Submit: https://yourdomain.com/sitemap.xml
Do this only after your domain is connected and live. Otherwise, Google will reject it.
Set Up Conversion & Funnel Tracking (Optional, but Recommended)
This is for stores that want deeper insight into what’s working and what’s not. Use tools like:
- Hotjar or Clarity for session recordings
- Google Analytics Goals for add-to-cart, checkout, and thank-you page tracking
- Klaviyo or Omnisend for email capture and automation
For tracking funnels, go to:
- Product Page → Add to Cart → Initiate Checkout → Purchase
- Email Signup → Welcome Flow → First Purchase
Run a Final QA Across Devices
Use real devices for the final QA. You can test it on:
- iPhone, Android, iPad, desktop
- Chrome, Safari, Firefox
- Dark mode compatibility (if your theme supports it)
- Load speed via PageSpeed Insights or GTmetrix
Pay close attention to checkout performance on mobile. That’s where most traffic converts (or drops).
Launch Day Monitoring
Once you flip the DNS, things get real.
Monitor:
- Shopify Admin → Live Orders & Dashboard
- Google Search Console → Indexing Issues
- Shopify → Speed Report
- Real-time GA4 traffic (check for bounces and drop-offs)
Have a rollback plan ready. Keep your old site in backup for at least 30 days.
Common Questions, Unique Answers:
1. How long does a typical Shopify migration take?
The timeline depends on the size and complexity of your store. A small shop with fewer than 100 products can often migrate in 3–5 days.
Larger stores with thousands of SKUs, historical orders, and custom logic can take 2–4 weeks. The key is spending enough time on pre-migration prep and post-migration QA (skipping those stages causes delays later)
2. Will I lose my SEO rankings when switching to Shopify?
Not if you do it right.
The most common causes of SEO loss during migration are broken redirects, missing metadata, and crawl errors.
By mapping old URLs to new Shopify URLs using 301 redirects, preserving meta tags, and resubmitting your sitemap to Google, you can maintain your rankings post-migration.
3. Can customer passwords be migrated to Shopify?
No!
Shopify does not allow importing passwords due to encryption.
However, you can send account activation emails to existing customers after the migration. Many store owners use this as a re-engagement tactic, often pairing it with a welcome-back offer or discount to encourage customers to create a new password and start shopping again.
4. What’s the biggest mistake people make during migration?
Rushing the process or skipping the post-migration QA.
Many merchants migrate data but don’t test the live site thoroughly, leading to broken carts, missing product info, or checkout errors.
Another common mistake is ignoring SEO mapping. If your old URLs aren’t properly redirected, you can lose organic traffic and search visibility quickly.
5. Is hiring a Shopify migration expert really worth it?
If your store is small and straightforward, you can often handle migration yourself using CSVs or Shopify’s importer.
But for stores with high traffic, custom features, or a lot of data, hiring an expert like Uptek ensures nothing slips through the cracks. It saves time, protects SEO, and removes the stress of “hoping everything works” on launch day.
Wrapping It Up
A Shopify migration isn’t just a platform change. It’s an opportunity to fix what has been holding your store back, whether that’s performance issues, clunky workflows, or platform limitations that no longer support your growth.
With the right checklist and a clear process, a migration can result in a faster, cleaner, and more conversion-ready store.
That said, not every business has the time to manage a migration from start to finish. Without experience, it’s also easy to miss important details such as data accuracy, SEO continuity, or checkout behavior.
This is why many brands choose to work with a specialized Shopify migration agency. Agencies that handle migrations regularly can identify risks early, streamline the process, and ensure the move is done correctly the first time.
Agencies like Uptek focus specifically on Shopify migrations and help stores transition smoothly while keeping performance, SEO, and long-term scalability in mind.
If you’re planning a move and want experienced guidance, even if it’s just to validate your setup, working with a Shopify-focused migration partner can save time, reduce risk, and provide peace of mind.